Your cart is currently empty!
Building A 12v Electrical System For A Sprinter Van
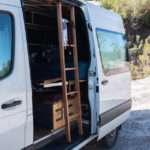
One thing I was sure of when I was designing this van was that it would need a lot of power. We often spend weeks and weeks off-grid and the van would have to cope with long periods without external charging.
The system consists of a Enerdrive DC2DC 40a charger which charges from the alternator or solar to the 520ah battery bank. The design ensured the shortest functional cable runs to prevent voltage drop. The roof rack system houses 2 x 180w solar panels.
Contents
Battery and charger installation
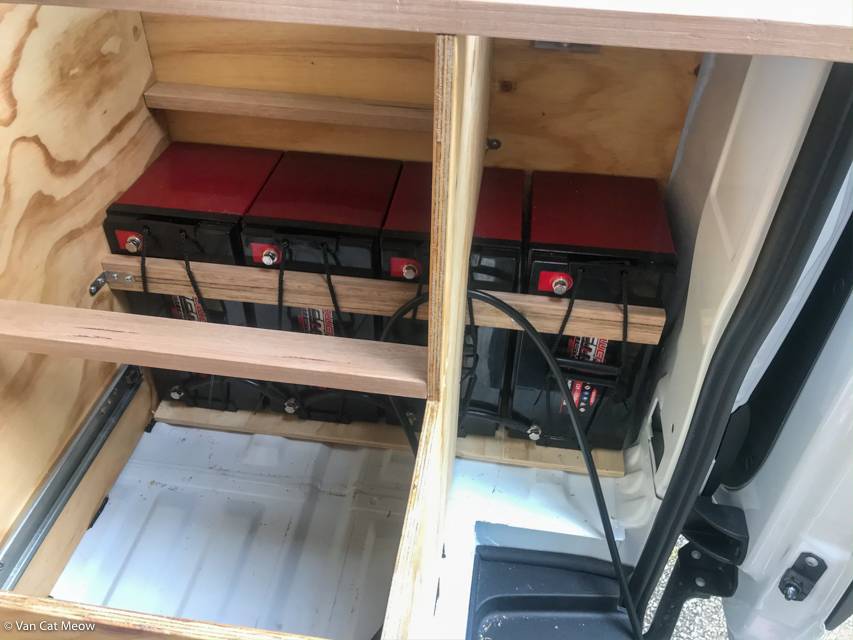
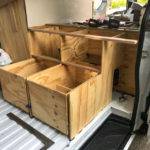
Batteries are housed just under the bed behind the bench seat. This location means that from the charging unit there is a minimal run to the starter battery and solar.
I used 4 x 130ah PowerAGM batteries for a total of 520ah. The manufacturer states that they can be mounted in any orientation. I sure hope they’re right!
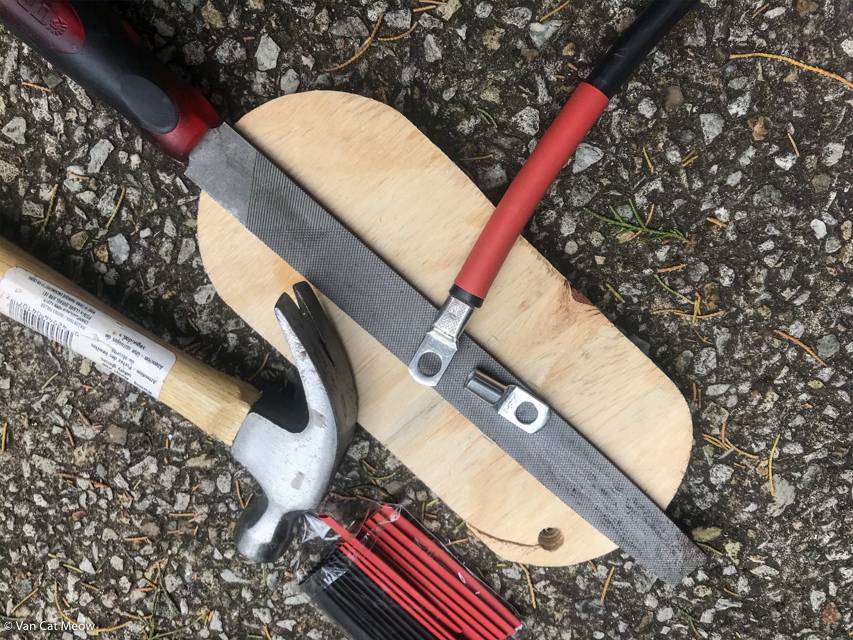
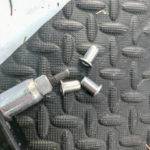
Cabled were crimped with the ol’ hammer.
I purchased 10 metres of 25mm2 cable which was more than enough for the run between the starter to the charger and the cables between the batteries. The manual for the charger states the required cable thickness and fuse ratings.

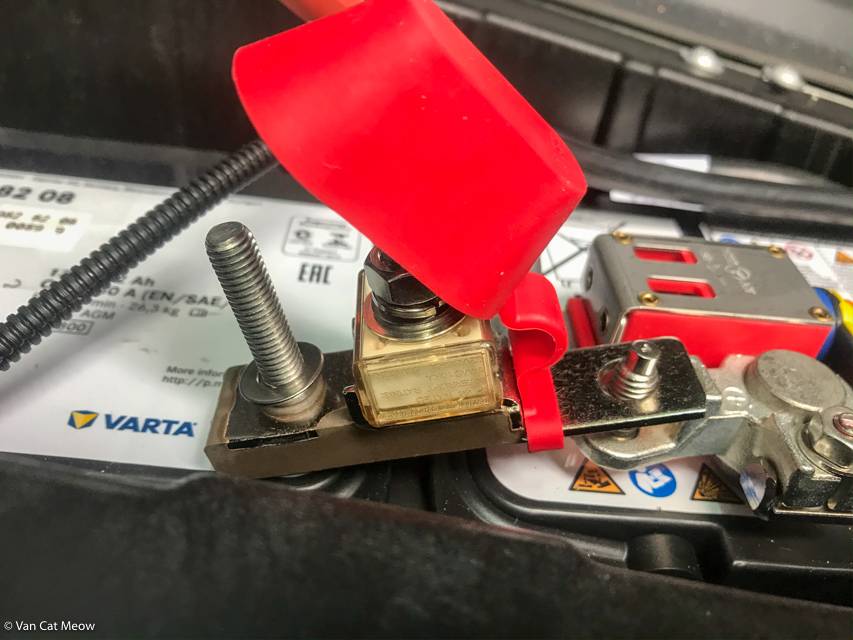
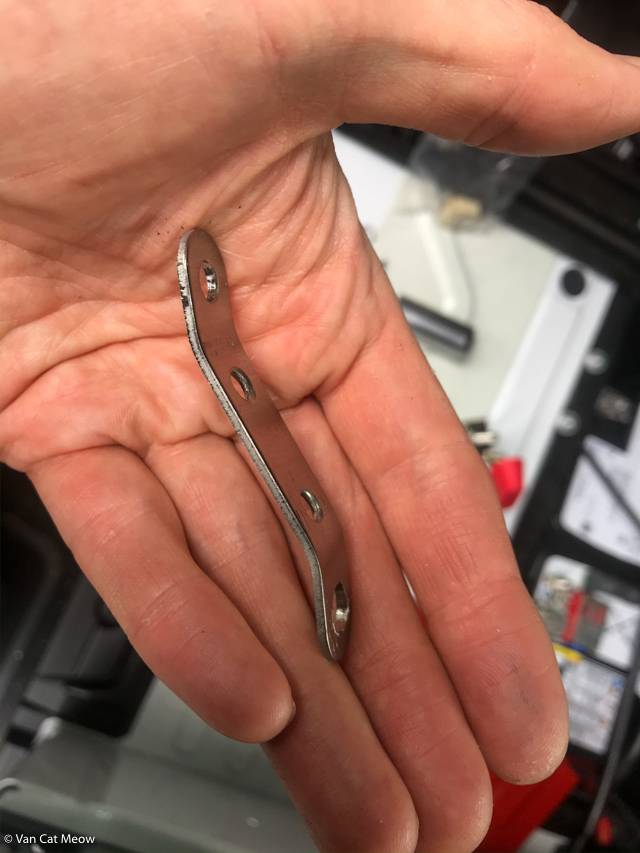
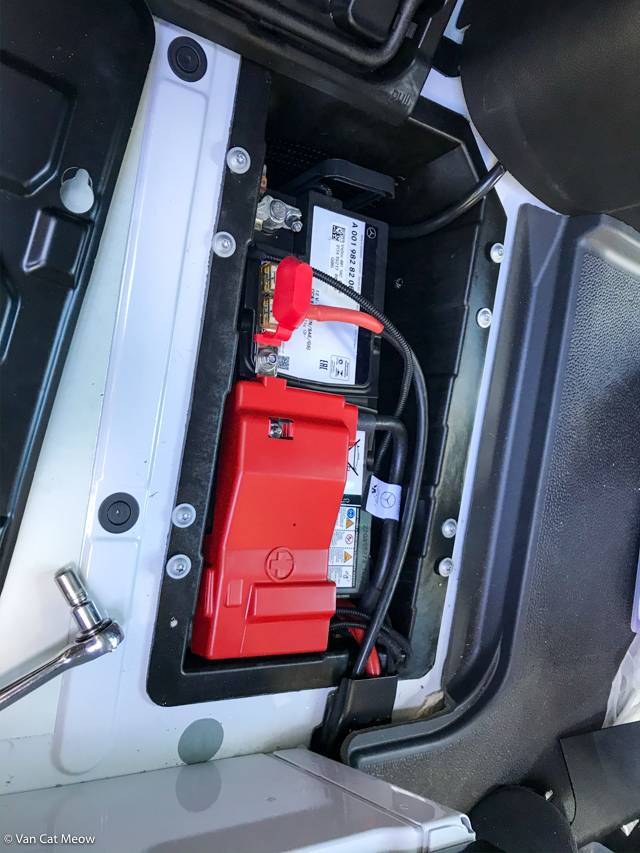
The starter battery is accessed from the passenger footwell. The cabled from the charger was laid across the floor then under the passenger seat. You can see below that the terminal fuse I bought doesn’t fit heigh wise so I had to attach it via a stainless steel bar so floor panel would fit back over it.
UPDATE: Beginner’s mistake – Never use stainless steel for electrical connections. It doesn’t have the conductivity to carry the amps required. I thought I was so clever..
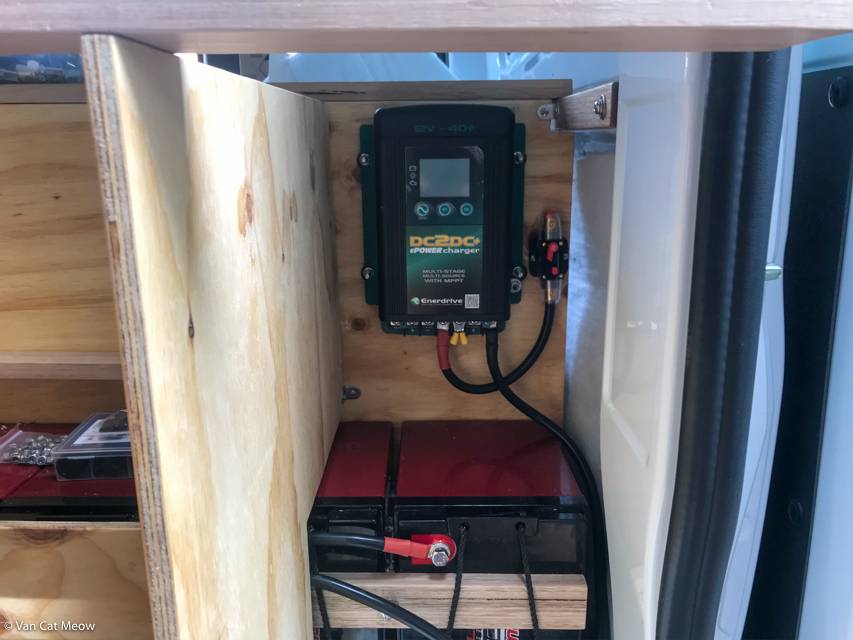
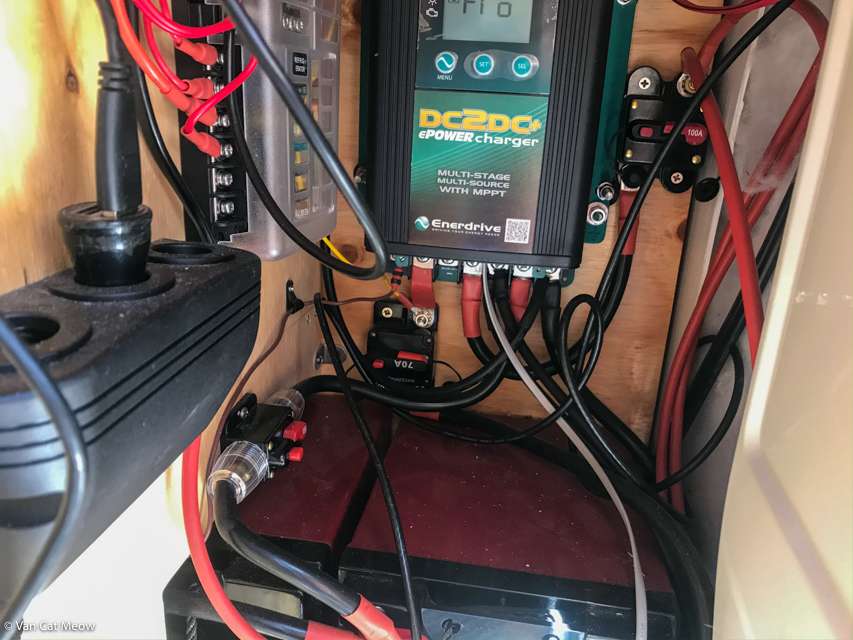
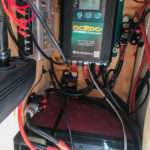
The charger was mounted above the batteries ready for connections via the recommended fuses (I used circuit breakers so I could turn off circuits if required).
As the late model Sprinters come with a smart charger, the Enerdrive charger requires another cable so it can determine if the alternator is on. This can be done by running a cable to the D+ line on the EK1 terminal block under the drivers seat.
Earth was taken from the tie down bolt in from the sliding door.
This photo shows the completed set up with circuit breakers in place. Not too much of a mess.
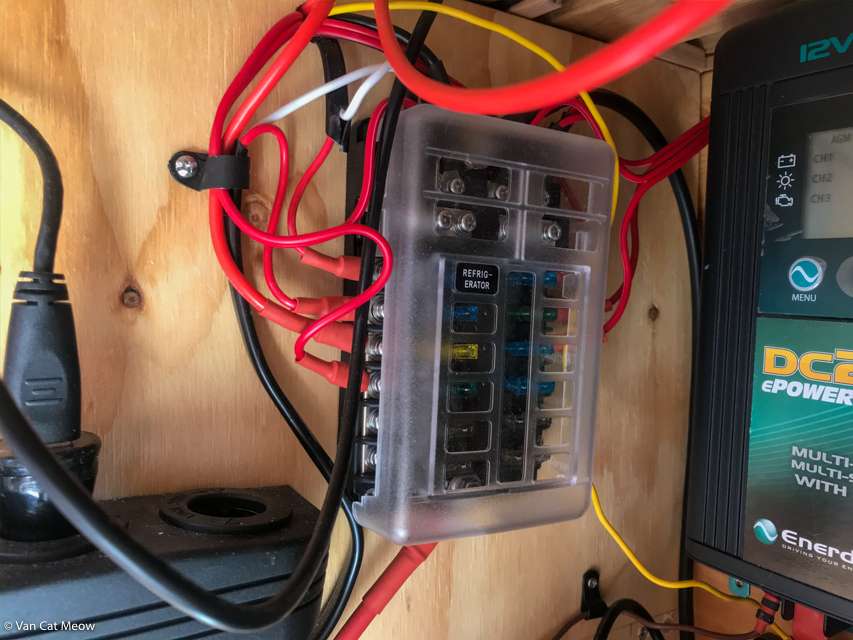
There are two fuse blocks for distribution to accessories etc. One is located next to the charger, and another behind the control panel next to the cupboards above the bed.
Solar
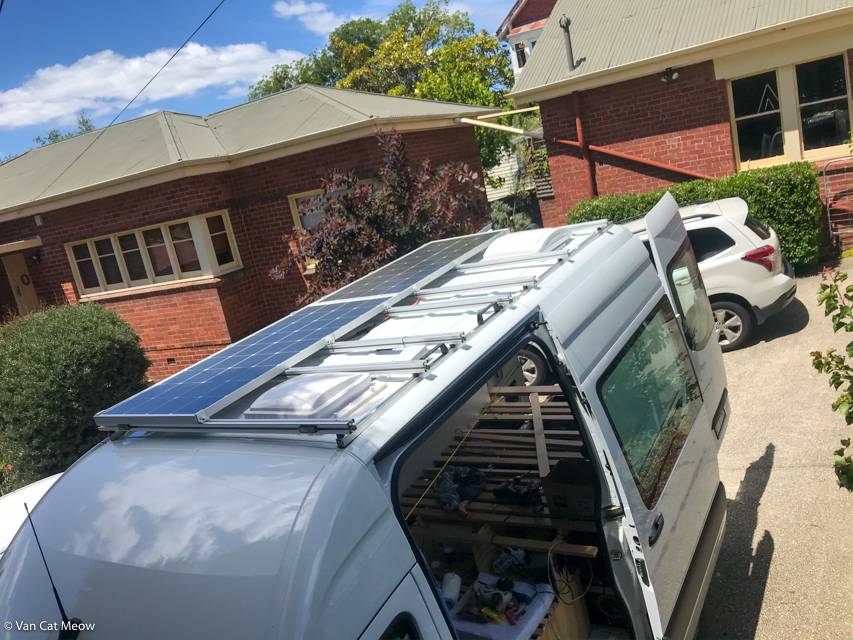
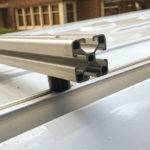
Initially my plan was to have 2 x 200w panels but due to their length they would have extended past the roof rack. I settled for 2 x 180w Enerdrive brand panels which are each 1480mm long.
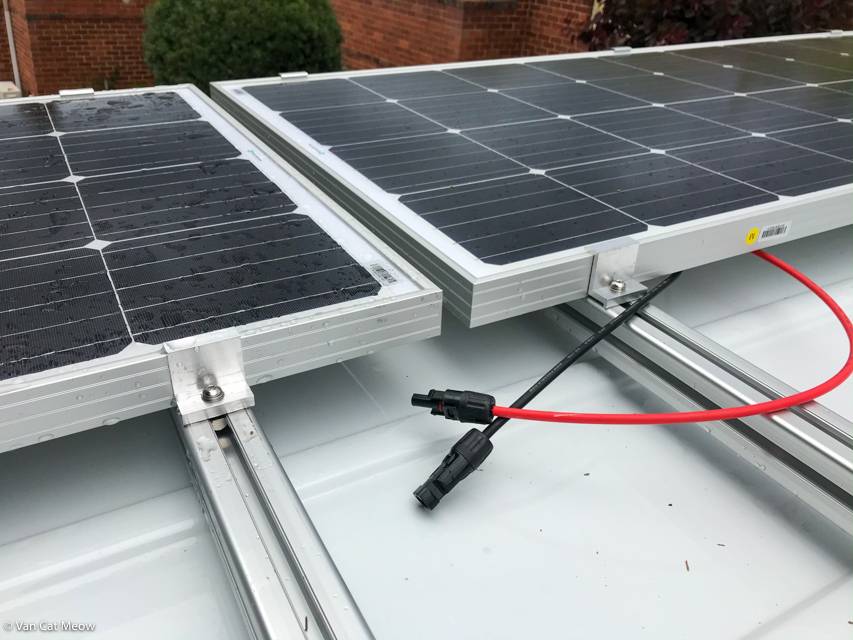
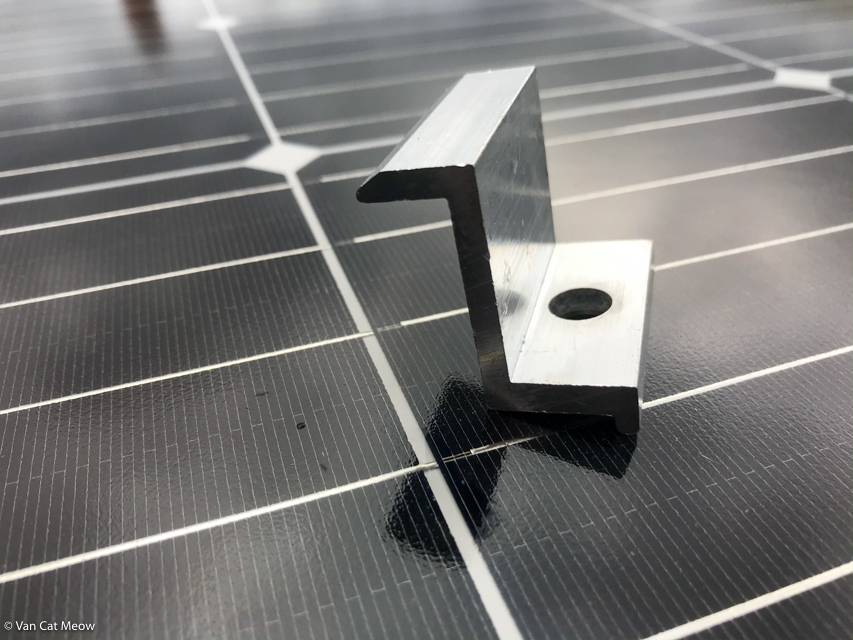
Each panel was attached with 6 x Z brackets which bold into roll in nuts.
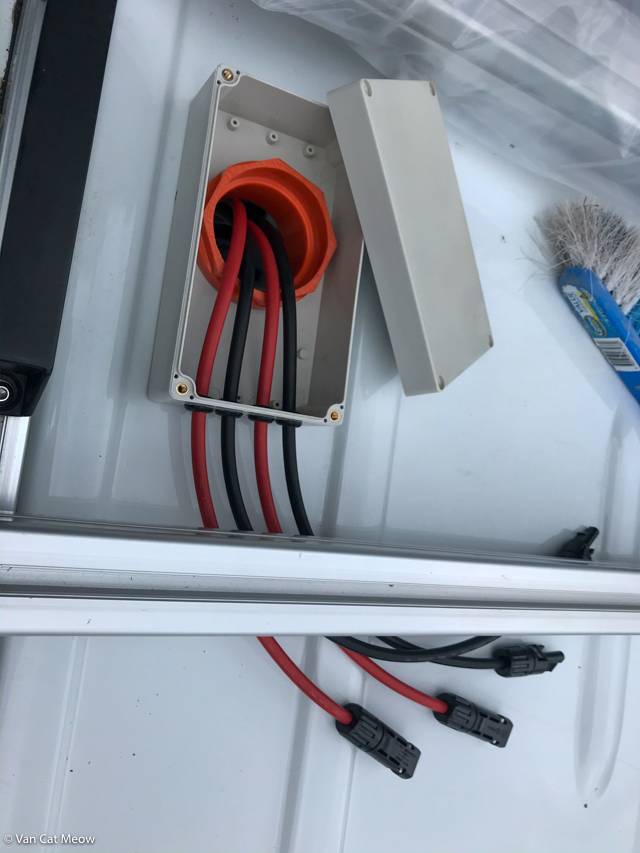
I constructed a cable junction box that gives access to a large hole I drilled in the roof. The box sits on a bed of butyl rubber and is essentially clamped down with the nut from the orange cable gland.
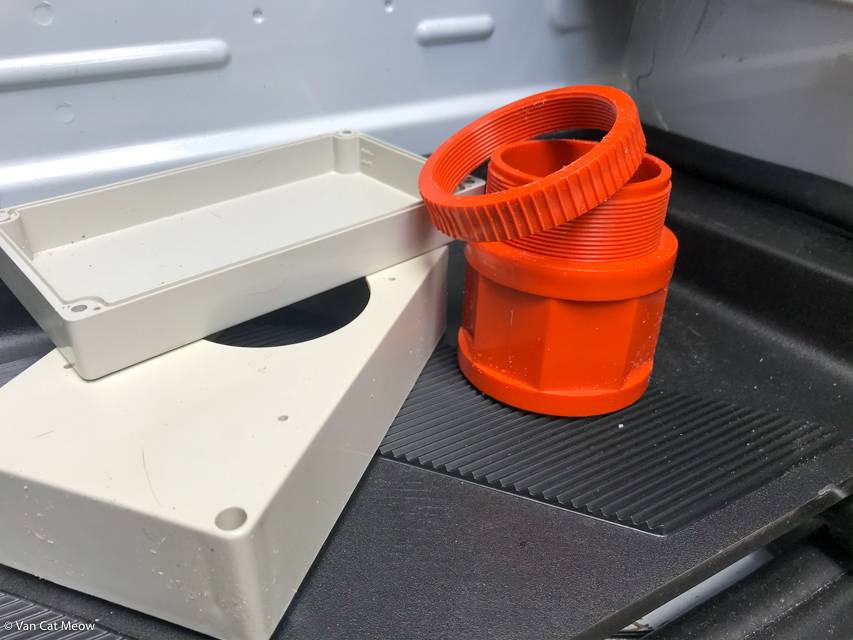
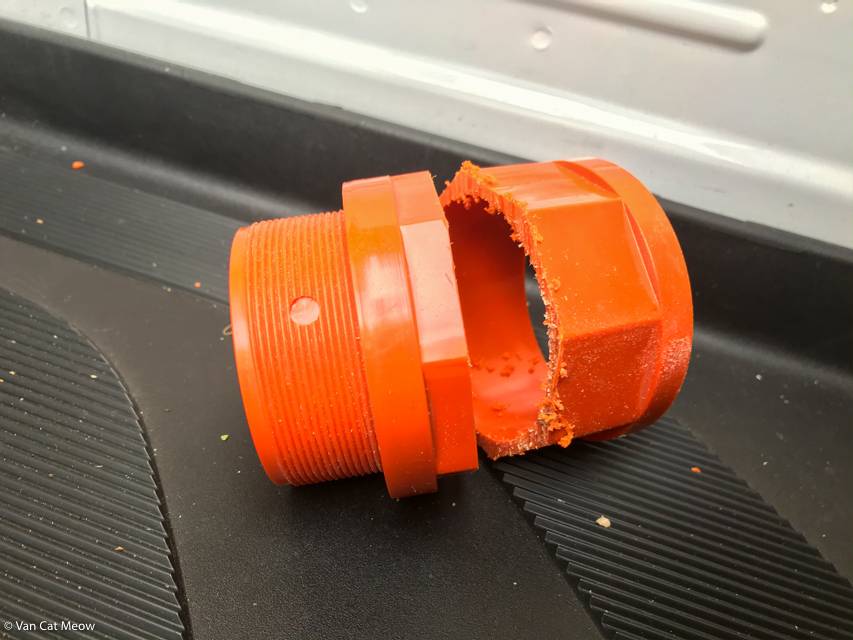
The cable gland had to be cut so it would fit inside the box. The nut was then screwed in from inside the van.
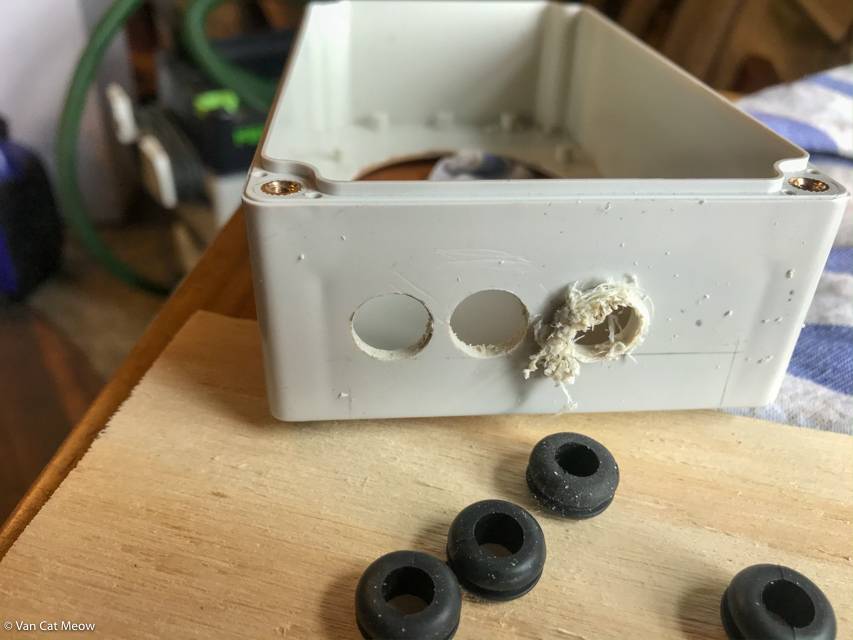
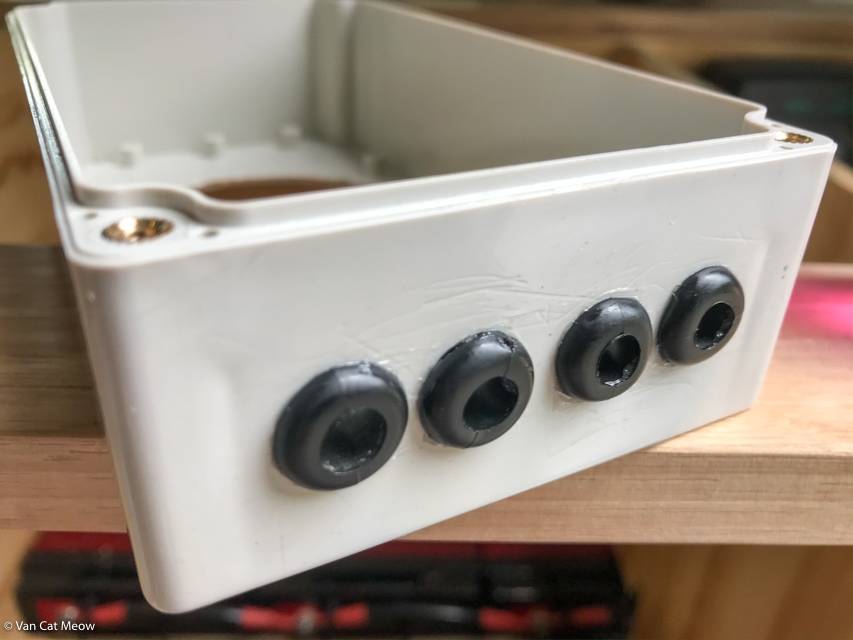
Holes were drilled then rubber grommets inserted with vasoline.
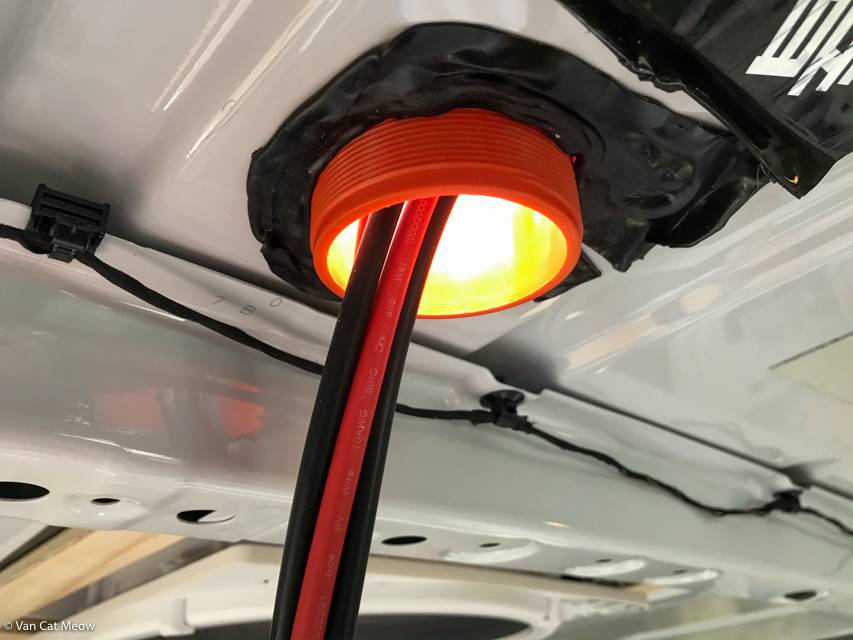
This photo shows the butyl rubber doing the sealing work before the nut was screwed in. I chose not to seal with Sikaflex but will keep an eye on it to ensure there are no leaks.
At the time the 6mm2 cable was the most economical so I chose to run a set for each panel instead of joining them on the roof and using thicker cables.
The cables were connected to the charger via a circuit breaker. The system has been working very well.
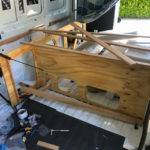
Control panel
The control panel has a 18cm wide cut to fit a standard car stereo.
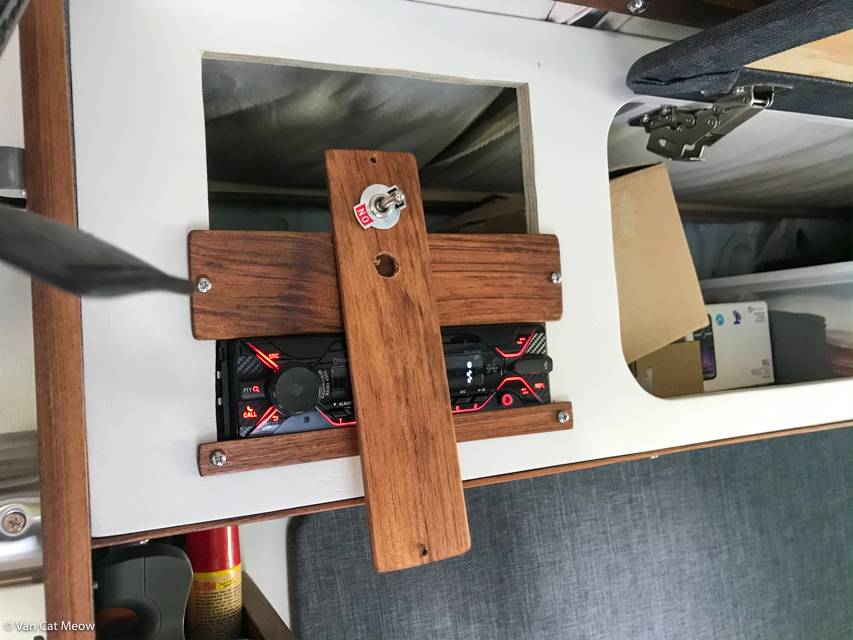
Trim work around the stereo and for the switch panels.
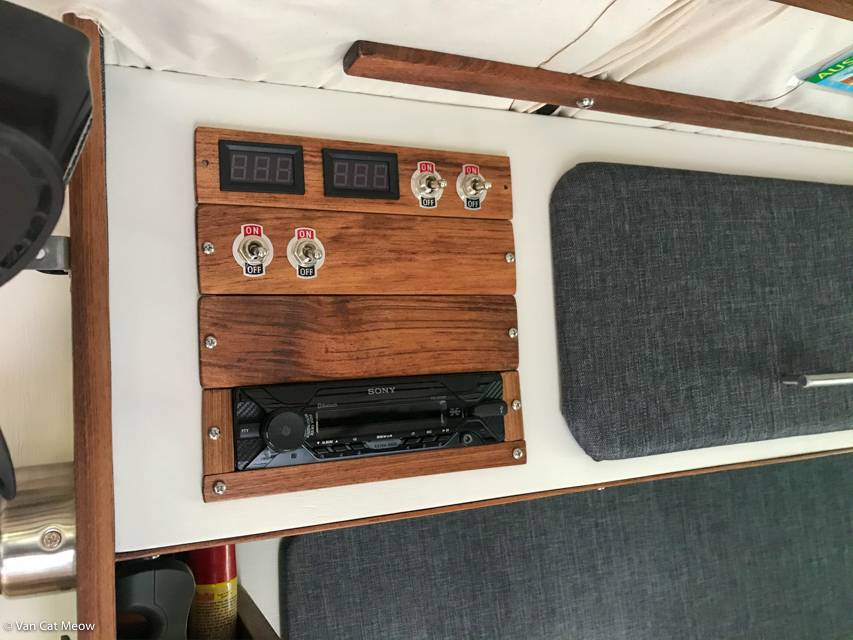
On the top panel we have two voltmeters for both the starter and aux batteries, a switch to turn off the meters, and a switch to turn the inverter on. The second panel controls the kitchen light and exhaust fan with plenty of room for addition switches.
Ending thoughts
I have had a good chance to test the system since leaving Hobart and it has been performing very well. The solar panels seem to be doing the bulk of the work and the Enerdrive rarely gets a chance to pull from the alternator i.e the system is often fully charged by mid morning.
I have been running the inverter to charge my laptop and power our PlayStation4. Even after extensive use the lowest I’ve seen the batteries at is about 12.5 volts. This is great news as it will mean I can sell our Yamaha 1000w generator.
Let’s hope the Enerdrive maintains the batteries health for years to come.
- Building a Van Home for a Cat (and Two Humans)
- Finishing Touches And Extra Storage Ideas In A Sprinter Van Conversion

- Flooring, Ceiling, And Everything In Between In A Sprinter Van
- Van Storage With Hanging Space, Locking Drawers, And Suspended Tubs
- Building The Framework For A Bedbase, Kitchen, Cupboards In A Sprinter Van
- Blind Threaded Inserts Hold The Van Together
- Building A Custom Roof Ladder For a Sprinter Van
- Insulation And Ventilation for a Sprinter Van

- Building A 12v Electrical System For A Sprinter Van
- Custom Roof Rack – Sprinter Van Build

Van Cat Meow
As seen on:
Lonely Planet
The Daily Telegraph
Business Insider
People Magazine
Sunrise TV
Buzzfeed
Mashable
