Your cart is currently empty!
Insulation And Ventilation for a Sprinter Van
Getting the insulation and ventilation right in our van was crucial in allowing us to cope well in the hotter parts of Australia.
Contents
Insulation
Whole books could be written on van insulation and many a forum post has had van-lifers battle it out on what they think the best insulation method is.
The reality is there is no best method and each comes with a sacrifice of cost, function, or ease of installation.
If you have the guts to know exactly where your cables and hoses will need to be then spray foam could be a cost effective solution. Most glass-wool insulation used in housing is fibrous and potentially hazardous if not sealed. There is a lot of debate over whether sheep’s wool’s moisture absorbing properties is problematic. Many people use EPS or XPS foam boards in caravan builds but for the small and intricate panel work of a van they are quite cumbersome.
I found it very important to question the advice I read as it may not apply to my climate. For Australian van lifers anecdotes from our North American friends may be of little use.
As we live in Australia our van is built to cope with the heat. It’s very unlikely we will be spending much time in negative temperatures so the cold has not been factored in.
But there is one thing you have to understand and that is the difference between radiant and conductive heat.
Radiant vs conductive
Radiant heat from the sun affects a van in two ways; by passing through windows and heating surfaces within, and by hitting the outside of the van where it then becomes conductive heat that passes through the solid metal to the interior.
When choosing insulation it’s important to understand the difference between conductive and radiant heat as each insulation product addresses each differently.
It seems to be quite common within the van life community to use radiant insulation. The problem is that these products require an air gap to work and given the space we are working with, this is near impossible.
The only use for radiant insulation in a van is for window coverings.
And while we are on the subject of windows, it’s important to consider as you find yourself 42 pages deep into another forum post on van insulation that the greatest source of heat ingress is your windows.
So, what does this mean? It means I don’t believe that the type of insulation you choose for your panelling carries as much importance as you might think. A more ‘holistic’ approach is in order. Methods to block radiant heat through the windows must be addressed as the primary concern in coping with hot climates.
What did we use?
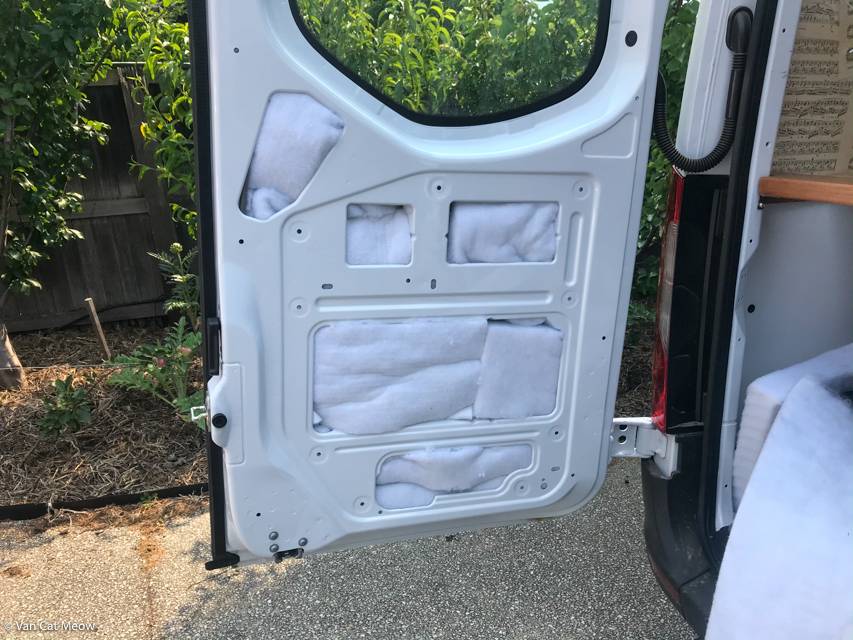
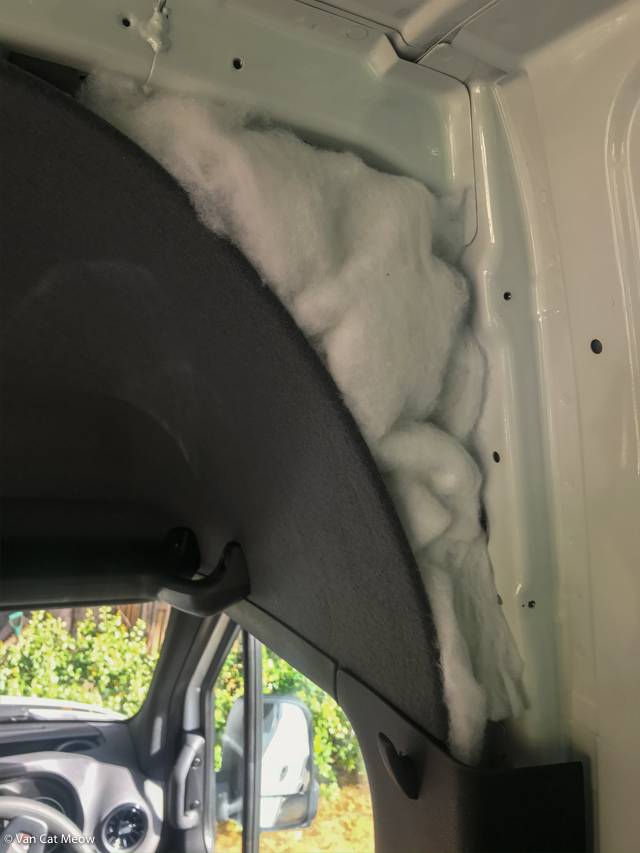
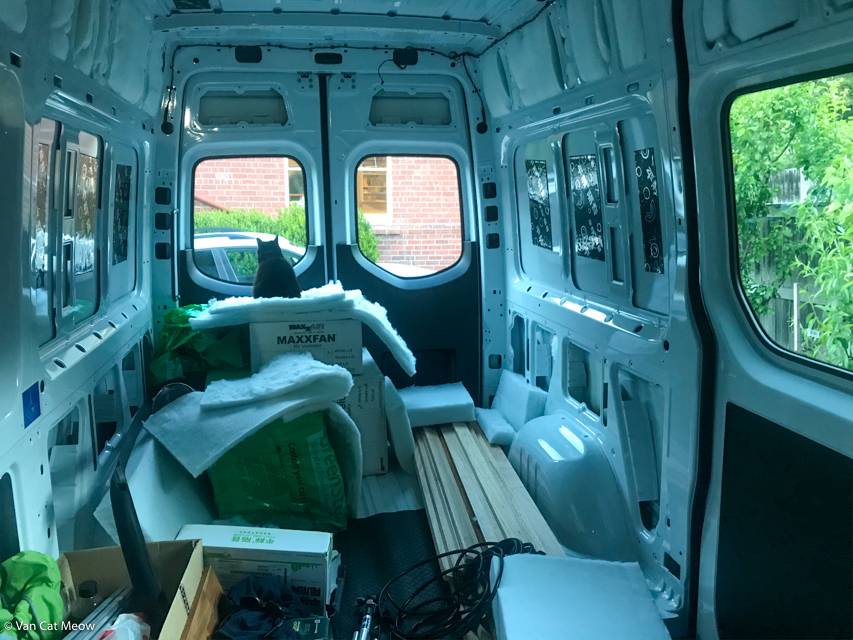
Panels and ceiling
We used GreenStuf® Acoustic R2.5 Polyester 480mm. The MWB required 6 bags which cost me $343.00 AUD and was sourced locally.
Polyester insulation is non-fibrous which means it’s safe to install and live in. It can be cut to size and also ripped apart to fill cavities.
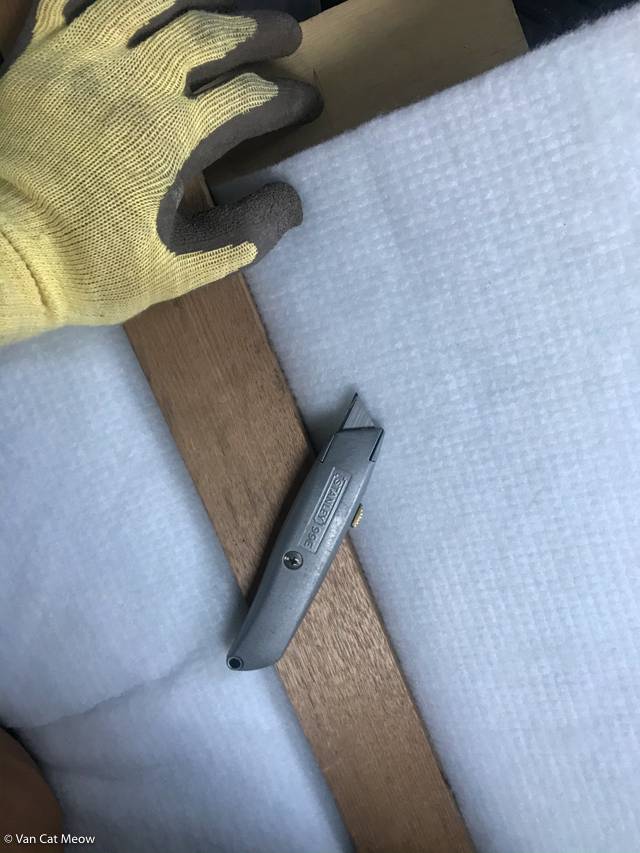
Initially I found that it could be cut by compressing it with a piece of wood and running a utility knife over it. Something like a foam cutter could work better, though I later found success with a cheap bandsaw and spending a considerable amount of time cleaning out the threads it left behind after each cut. This was a total hack job and regret that I didn’t find a better way.
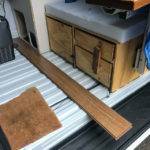
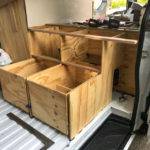
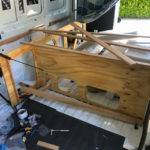
Ply wood was used to secure insulation on the centre panels or for the driver’s side just tucked behind the cupboards.
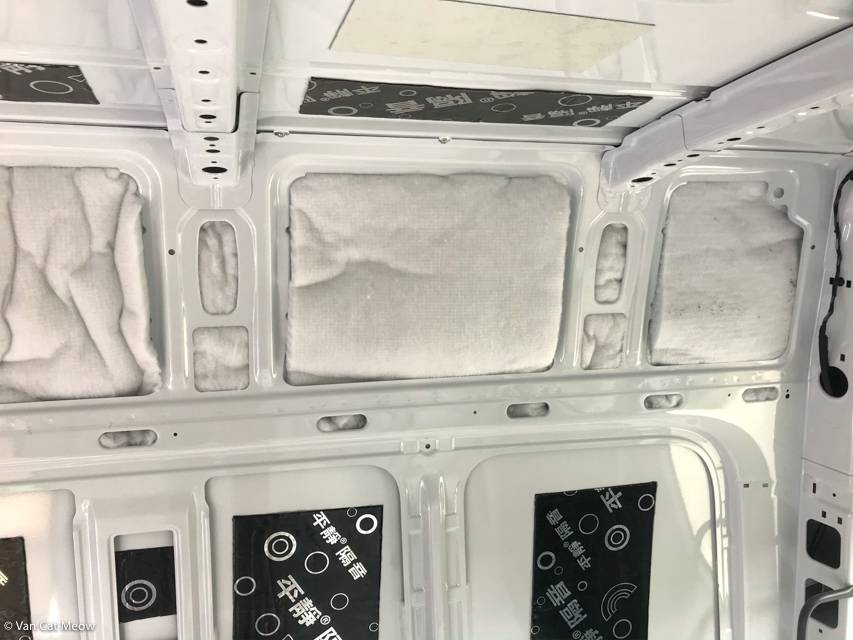
The thickness of the batts was predominantly greater than the panel depth but layers could easily be peeled off each batt to size.
I was happy with the end result and the pieces filled the panels well.
Window coverings
Our window coverings are currently a work in progress.
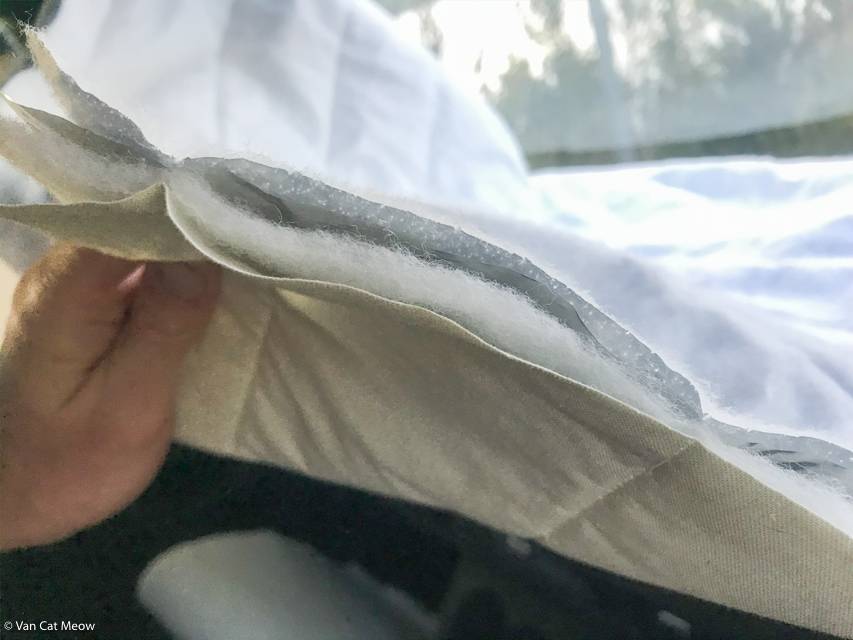
In the rear I have made a rollup blind out of a thermal blanket product which I do not know the name of. I was given about 12 metres from my sister-in-law and told it was leftovers from decades ago.
The product consists of 4 layers of calico, mylar, and polyester. The result is excellent heat blocking. If anyone knows what this stuff is called please let me know!
In our last van I purchased pre-made solar shields for about $250.00 AUD – the ones that attach with suction cups. They functioned well but fell apart after 2 years of daily use.
For the windscreen and side windows I will be trying something new. I’ll be making panels out of fluted plastic backed with reflective insulation tape. I’ll have an update and photos on this soon.
Sound proofing
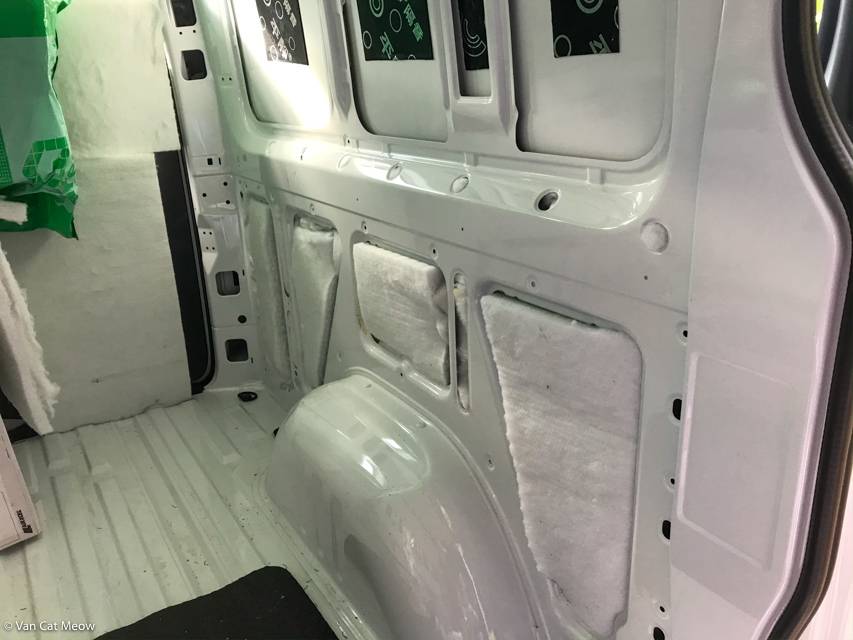
I used foil backed butyl rubber sound deadening material. I have used both Dynamat brand and knock offs on Ebay in the past without any noticeable difference. For this van I used Happy Tiger brand.
You can see from the black sheets in the photos that I have installed it with the bare minimum of panel coverage. It’s important to consider the weight of the material and I didn’t notice any benefit in full panel coverage in my last van.
Each panel was tested by whacking my fist against and hearing for the now muffled tone. I used one 2.88m2 box for the entire van which cost $109.00 AUD delivered.
Vapour barrier or nah
There is no vapour barrier in our van. Any condensation or moisture that might get in needs a way to get out so I went with a ‘breathable’ approach.
Heat blocking UV tinting
This is something I think is worth investigating. There are products available from 3M and other companies which claim to block heat coming through window. But for now it is a project for another day.
Ventilation
What goes in, must come out. – ancient proverb
If you want to extract hot air from your van you will need an ingress for the cool air.
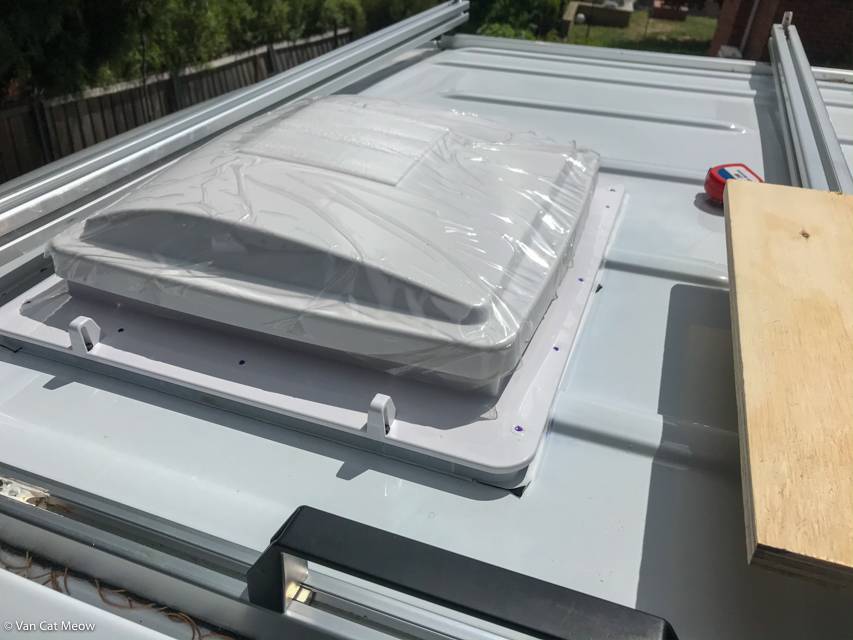
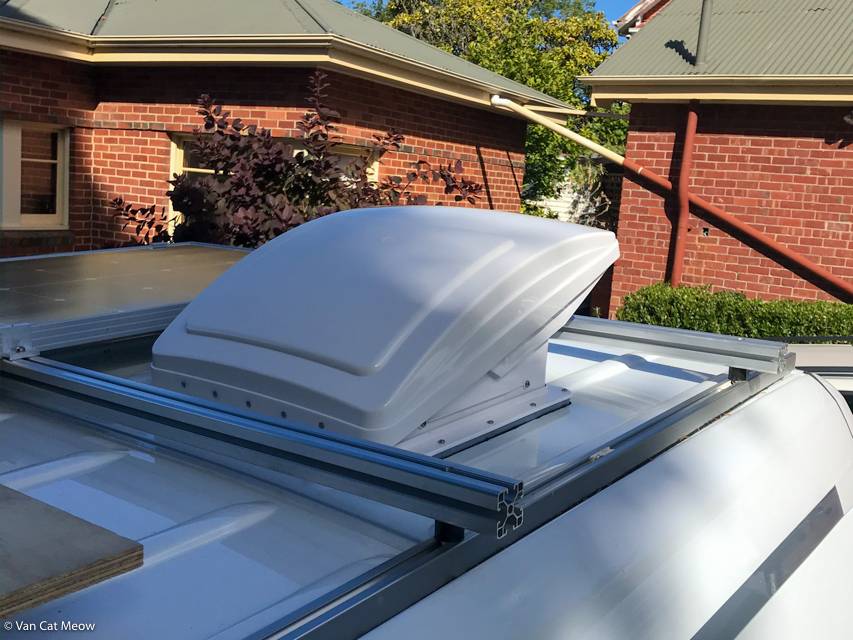
We have MaxxFan Plus in the front and a MaxxFan Delux in the rear. Both are manual lift and the Delux has a rain dome. In retrospect I should have installed a Delux in the both the front and rear as the Plus can’t be used in the rain at all.

I made a cardboard template for the cutouts.
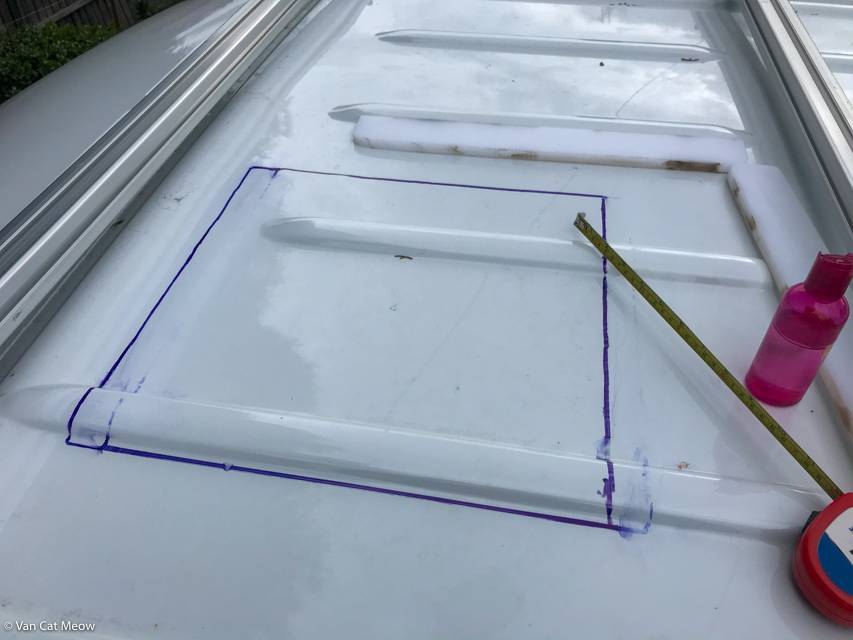
Whoops, wasn’t quite happy with the location.

A garbage bag was taped underneath so metal filings could be collected.
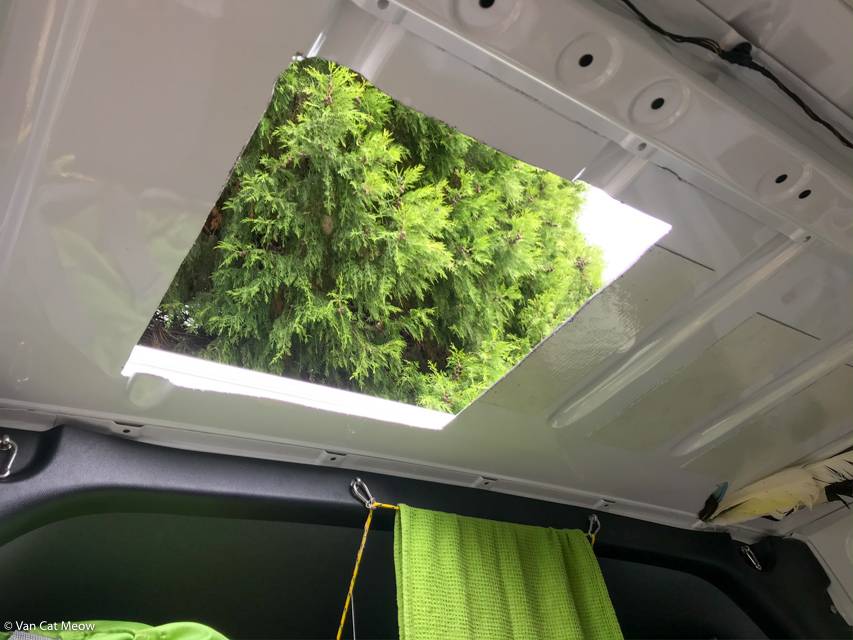
Hello sunshine! Holes were drilled in each corner then the cutout made with a cheap corded 500w jigsaw.
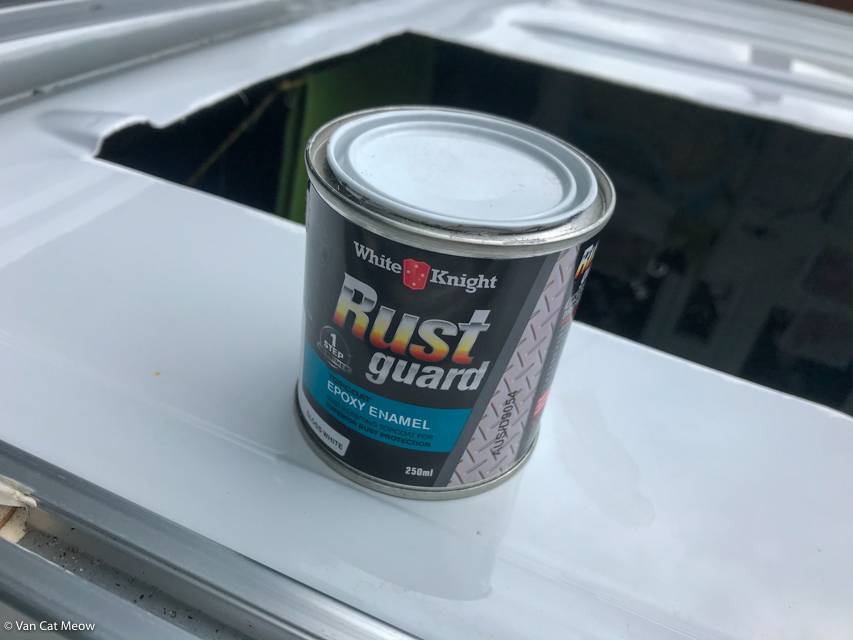
I cleaned up the edges with a file then painted it with rust guard.
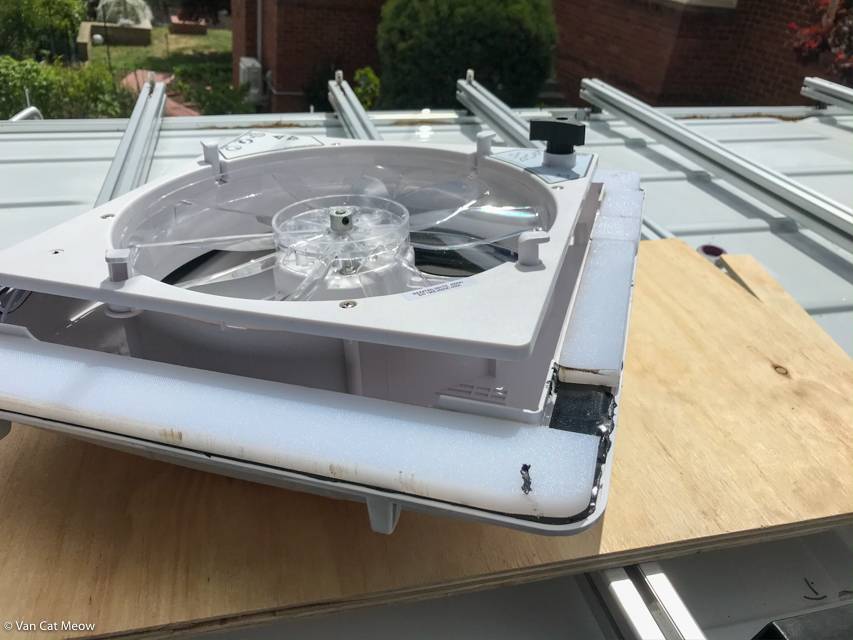
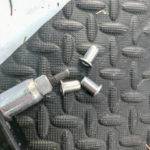
To tackle the issue of the roof ribs the fans are mounted on a strips of nylon I made from a cutting board. A layer of butyl rubber makes a seal between the nylon and the fan.
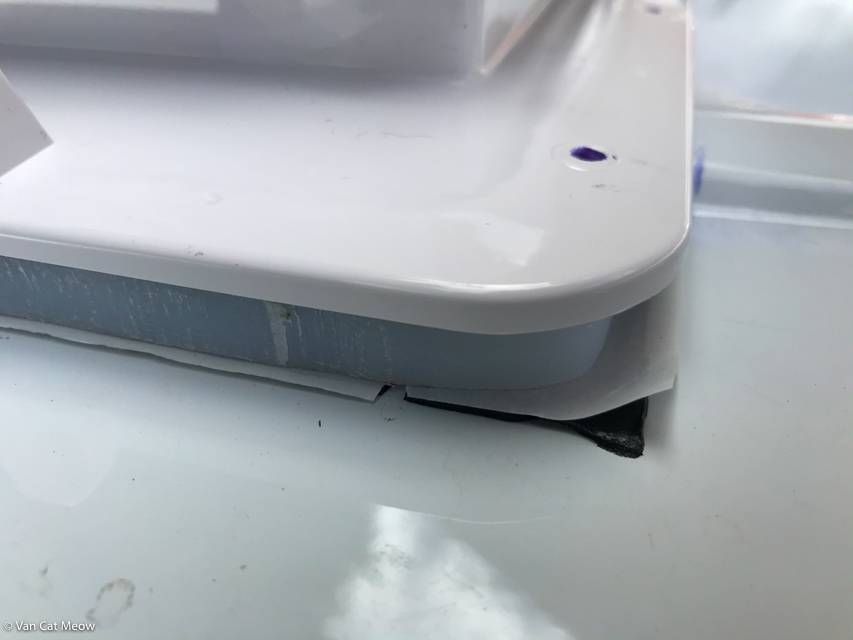
Another layer of butyl rubber seals the nylon to the van body.

As the nylon increased the height by 10mm I had to buy some longer screws as the ones that came with it were slightly too short.
Holes were drilled as per the manufacturers instructions.
The screws then attach to plywood battens.
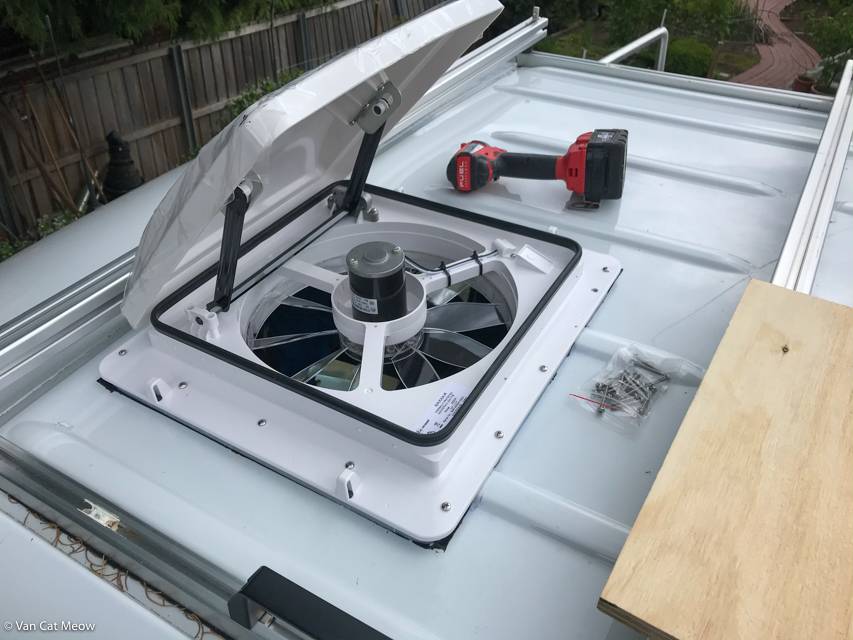
Looking good
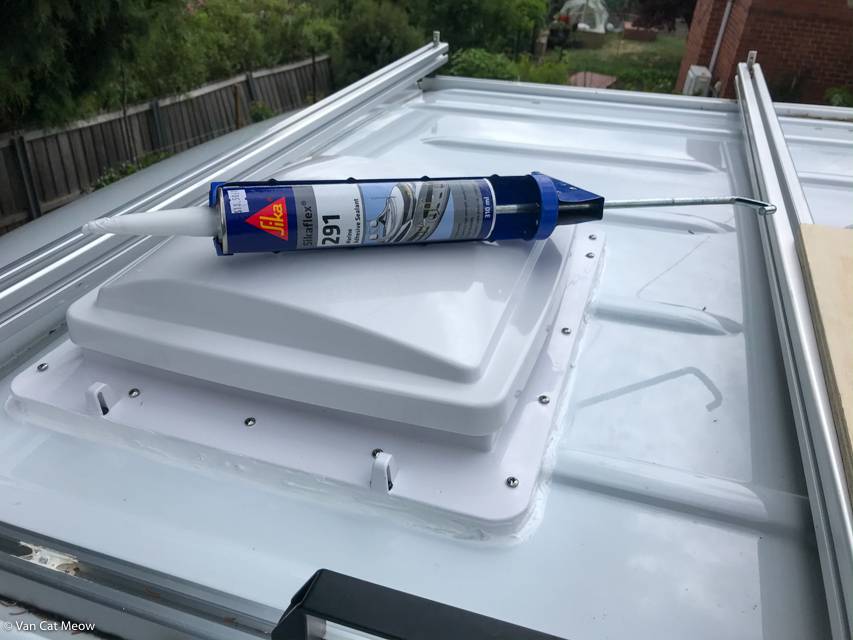
The edges were then fully sealed with Sikaflex 291 marine sealant, and also the screw heads (picture was taken shortly before this was done).

The process was repeated for the MaxxFan Delux.
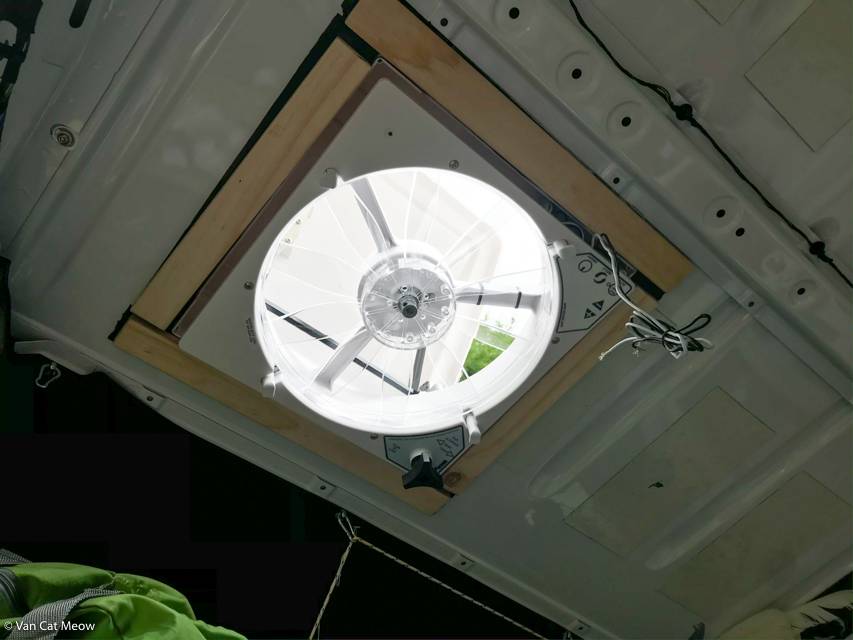
Inside the each unit’s control panel can change the fan speed and air direction. With the front fan extracting on the lowest setting a nice breeze is pulled through the rear unit over the bed.
- Building a Van Home for a Cat (and Two Humans)
- Finishing Touches And Extra Storage Ideas In A Sprinter Van Conversion

- Flooring, Ceiling, And Everything In Between In A Sprinter Van
- Van Storage With Hanging Space, Locking Drawers, And Suspended Tubs
- Building The Framework For A Bedbase, Kitchen, Cupboards In A Sprinter Van
- Blind Threaded Inserts Hold The Van Together
- Building A Custom Roof Ladder For a Sprinter Van
- Insulation And Ventilation for a Sprinter Van

- Building A 12v Electrical System For A Sprinter Van
- Custom Roof Rack – Sprinter Van Build

Van Cat Meow
As seen on:
Lonely Planet
The Daily Telegraph
Business Insider
People Magazine
Sunrise TV
Buzzfeed
Mashable
