Your cart is currently empty!
Custom Roof Rack – Sprinter Van Build
For large vans prefab roof rack systems can cost thousands and lack changeability. I wanted to design a modular system that will later support 2 x 180 watt solar panels, a deck area, and all my accessories – all for under $500 AUD.

This Roof Rack system was one of the most design-intensive tasks involved in this build, but also the most rewarding. I needed to make the most of every bit of realestate on this long-wheel base high roof.
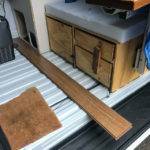
The material that made it possible was a slotted aluminium profile often called T-Slot or 8020.
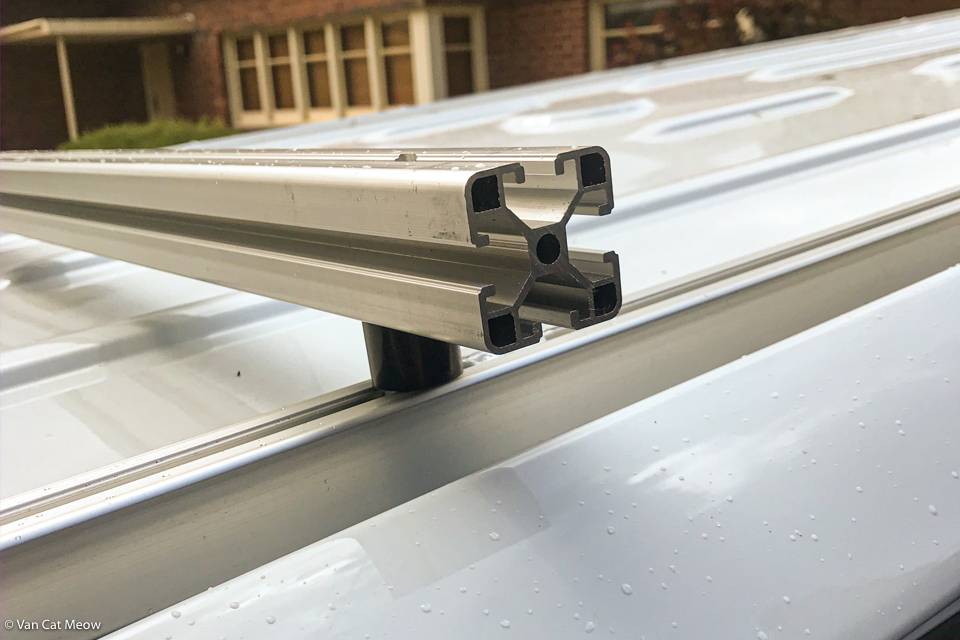
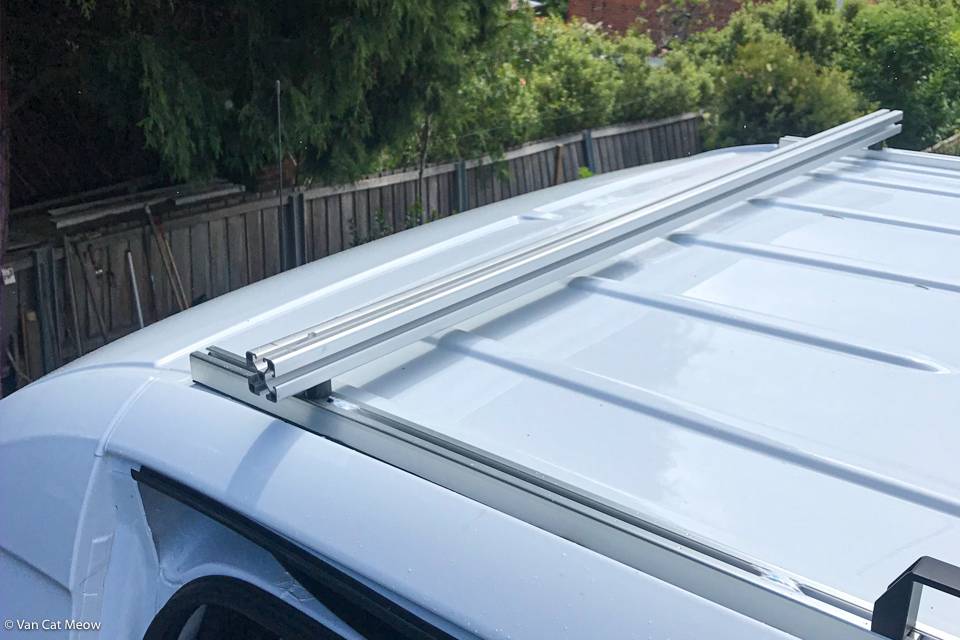
The system I came up with consists of 4 x 1.5 metre rail sections that were bolted onto the underside of the van in 16 places. The 1.44 metre crossbars were then attached to the rails via a nylon stand-off to bring them over the height of the roof ribs.
These were purchased from a metal manufacturer in China on Alibaba.com and cost $328.34 AUD delivered. This was all cut to size and included enough metal to make 11 crossbars if needed.
So let’s get started..
Roof Rails
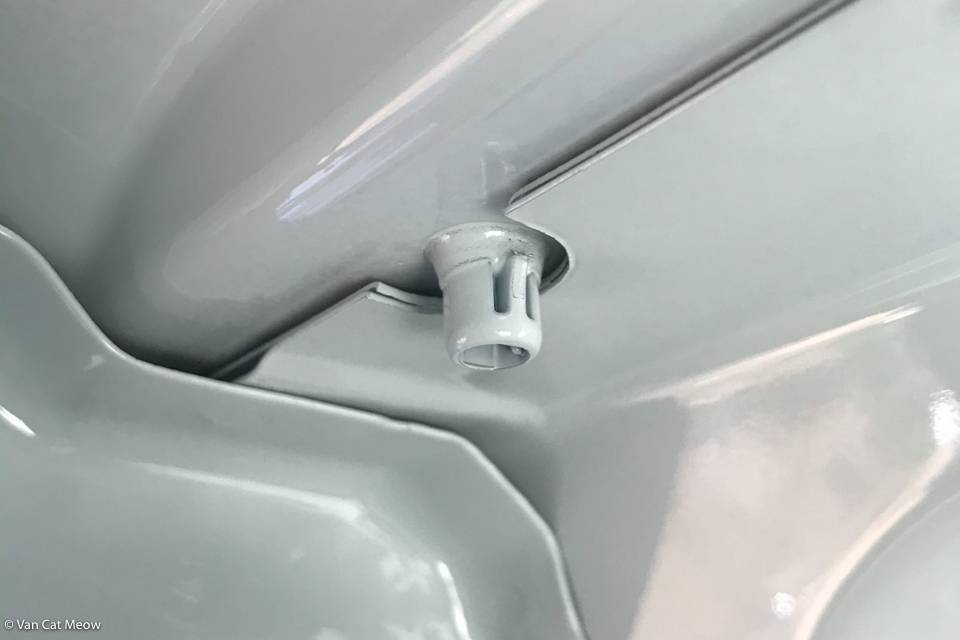
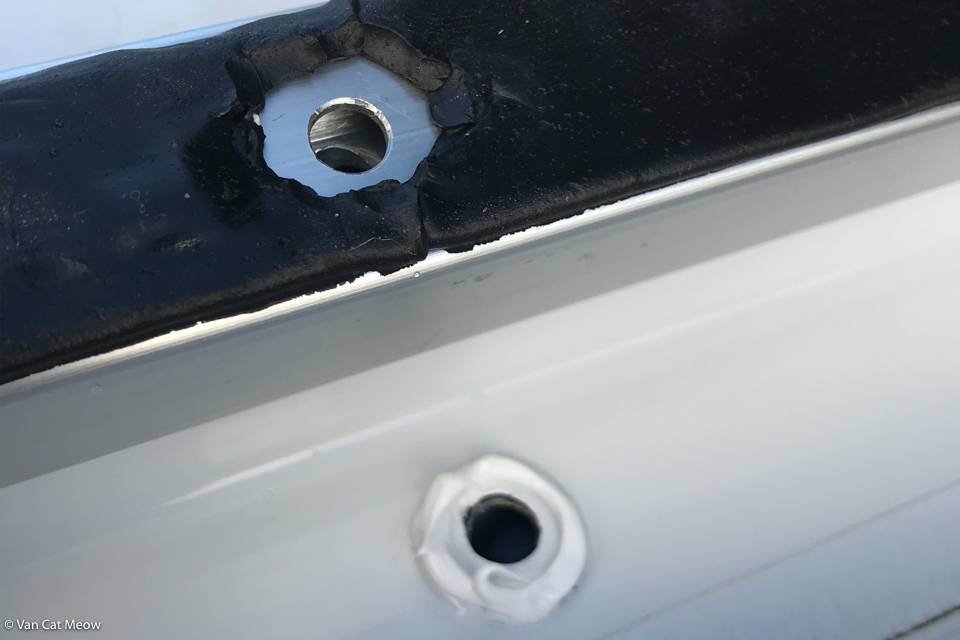
Inside the van along each side of the chassis are 8 plastic plugs glued into pre-drilled holes. These were installed before the van was sprayed at the factory.
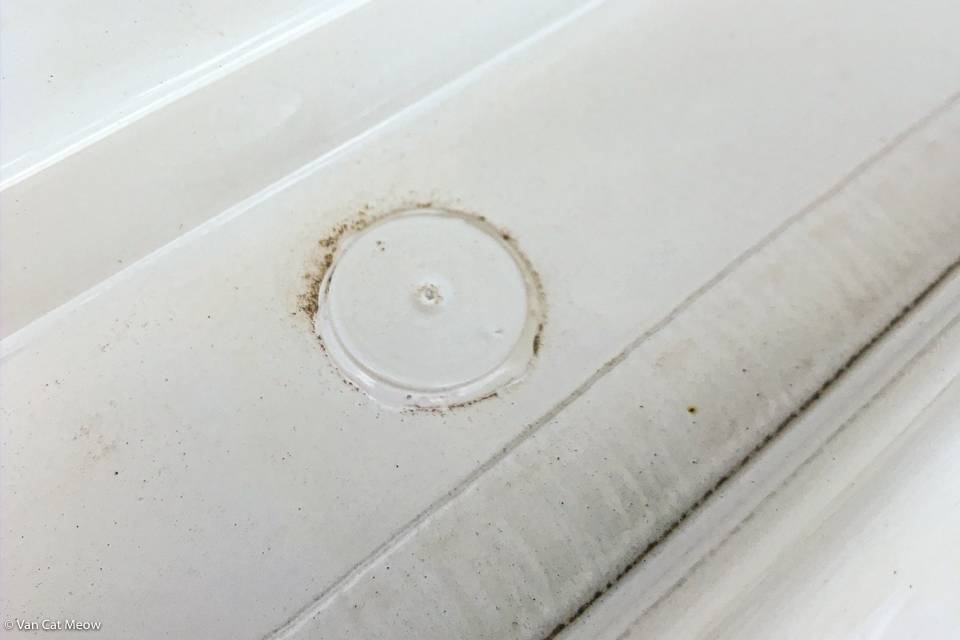
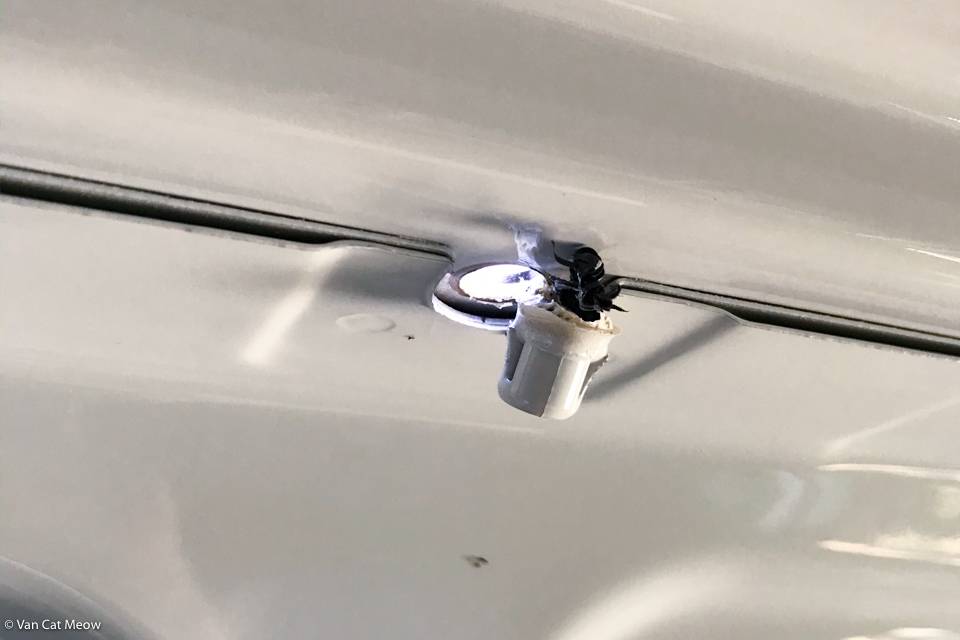
From the outside you can see the 20mm flange of the plug. These were drilled through with a 7mm bit which loosened the plug. From my research, many will remove the flange as well but I decided to leave it.
The holes were then tidied up with a scalpel.
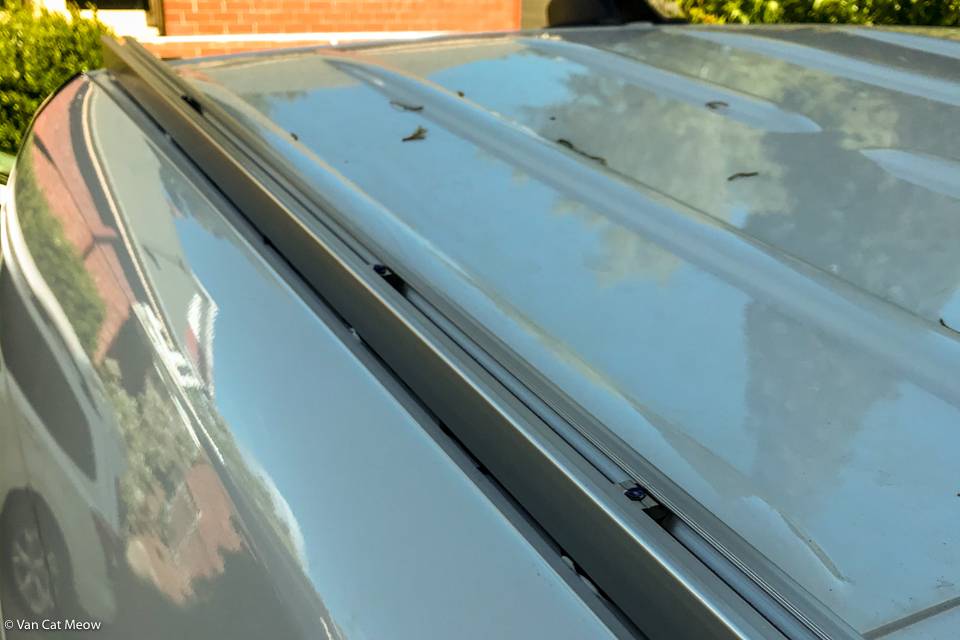
I decided on 4 roof rail sections instead of one on each side. This made the installation a lot simpler. The roof rails only have a slot on one face which gives them a good base.
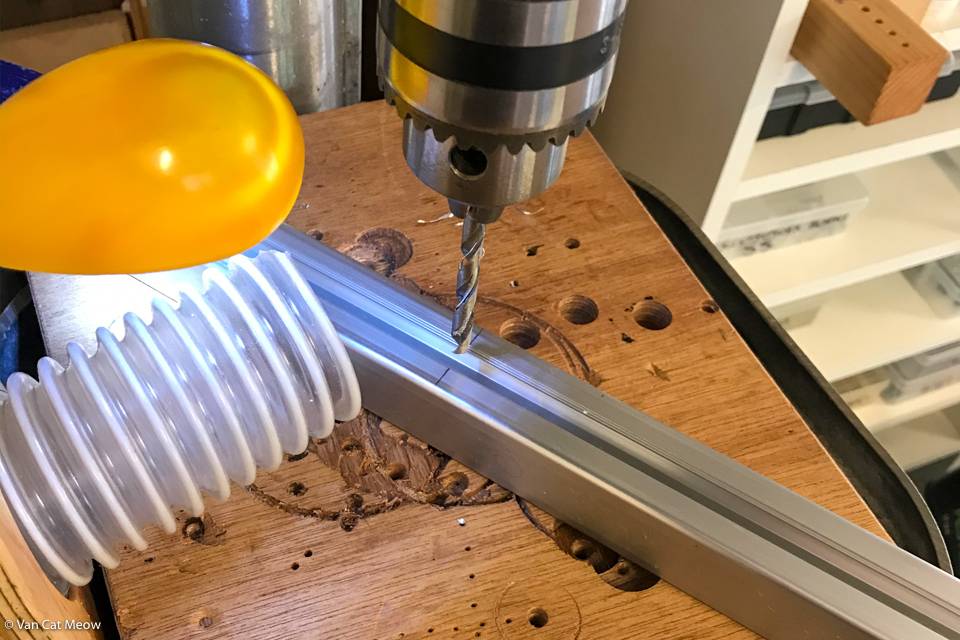
Each rail was placed on the roof and the hole locations marked for drilling with a 7mm bit. Using a drill press made this an easy job and a drop of drilling oil helped things along.
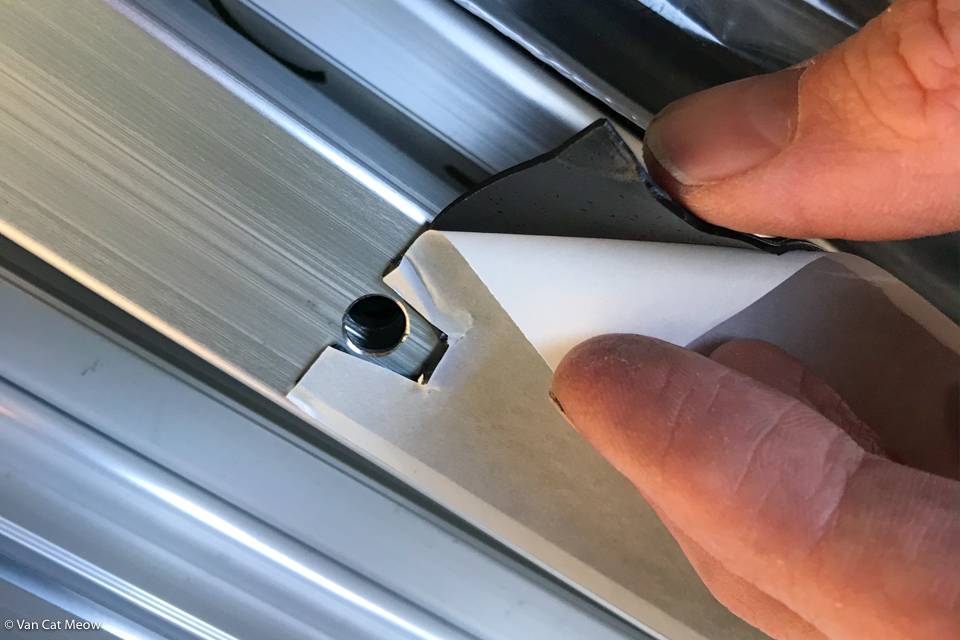
I then applied a 48mm butyl rubber strip to the entire length which was then folded over for added thickness. An area around each hole was cleared for the sealant.
Working on one rail at a time, a marine sealant (Sikaflex 291) was applied around each hole then the rail was set in place. Keep in mind there wasn’t much opportunity to reseat the rail once the butyl had made contact with the roof. I ensured that the rail was lined up by setting it down with a long ‘guide’ bolt in each hole.
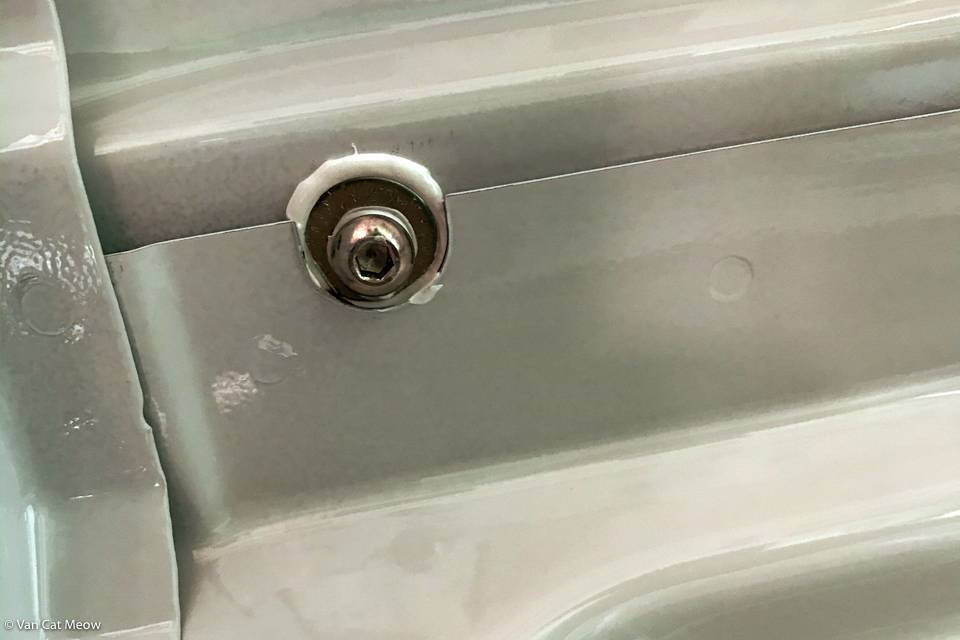
The guide bolts were then replaced with the final assembly – an M6 40mm bolt with spring washer and 18mm washer which screws into a slide-in nut in the slot on the rail above. Thread locker was applied to each nut before screwing in (Loctite).
Sealant was then applied over each slide-in nut for extra measure.
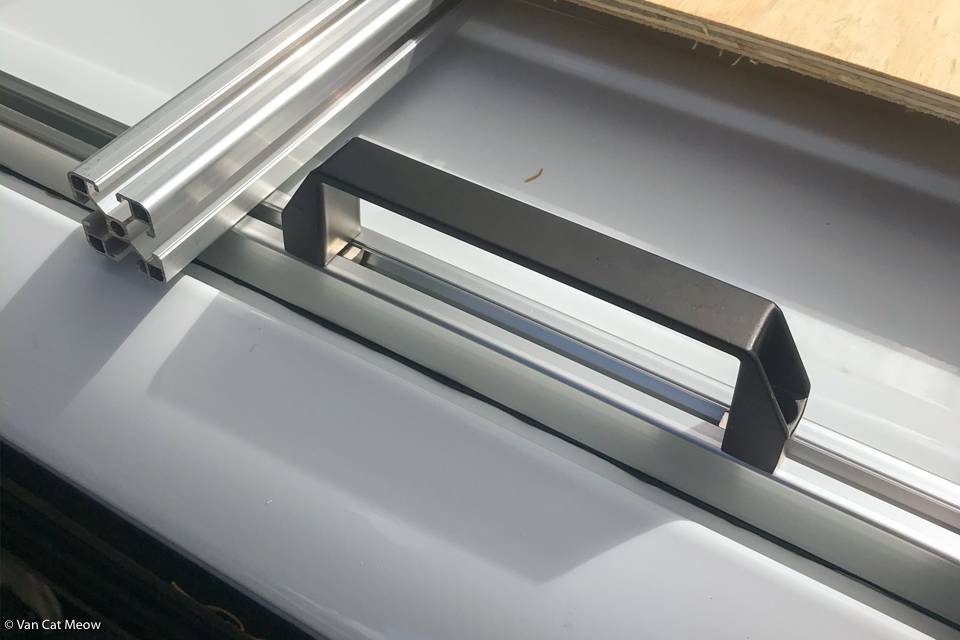
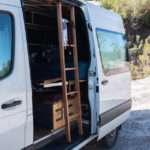
With the rails now in the first accessory was installed – a handle to help me up onto the roof to install the crossbars.
Crossbars
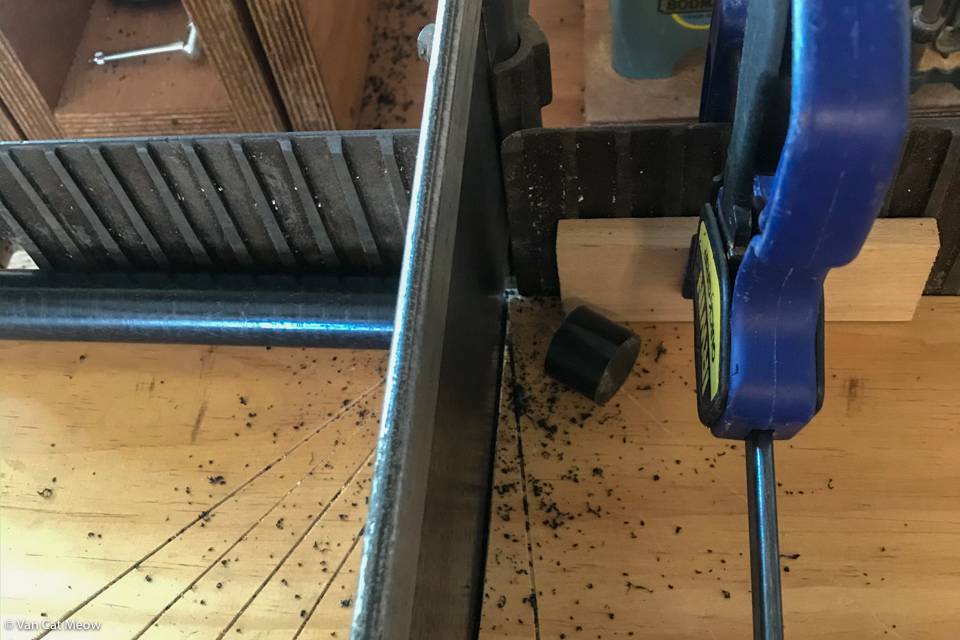
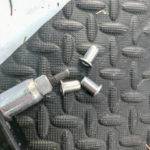
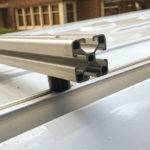
The crossbars placed over the newly installed roof rails didn’t quite clear the roof ribs. To solve this problem stand-offs were fabricated out of 25mm nylon rod.
The rod needed to be cut into 20mm pieces and I soon found that power tools would melt the nylon. The solution was to do it the old fashioned way with a mitre saw jig.
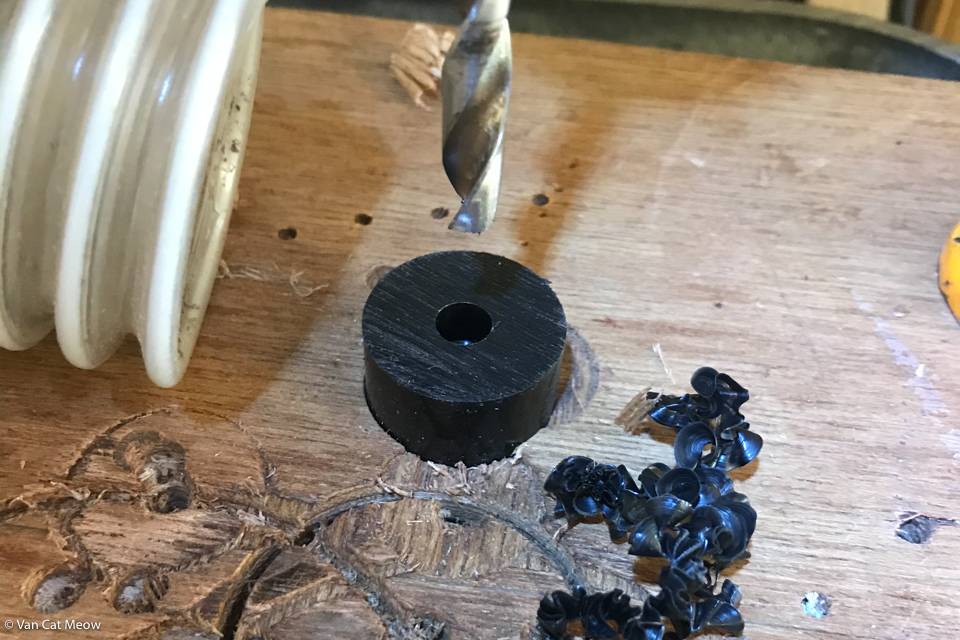
Each stand-off was then drilled with a 7mm bit on the drill press.
The crossbars members were already pre-cut to 1440mm. I marked the hole location by placing each over the roof rails.
First a 7mm hole was drilled right through the profile. Then a 13mm hole was drilled through just one face. The purpose of this is so the bolt head can fit through it.

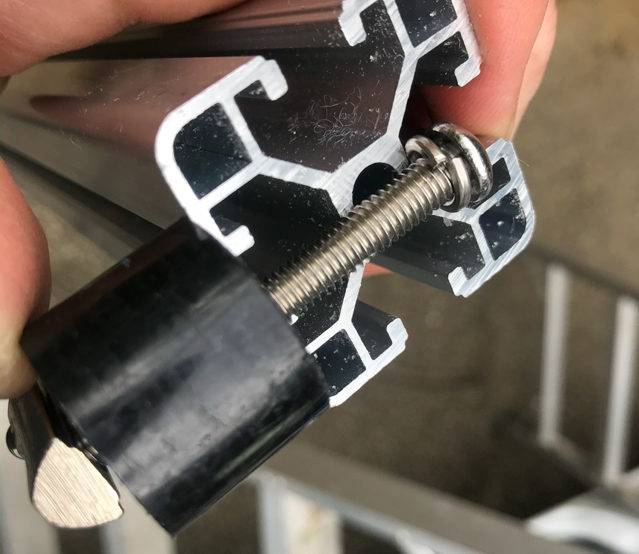
A M6 55mm bolt with spring washer was then bolted through each stand-off and into a roll-in nut.
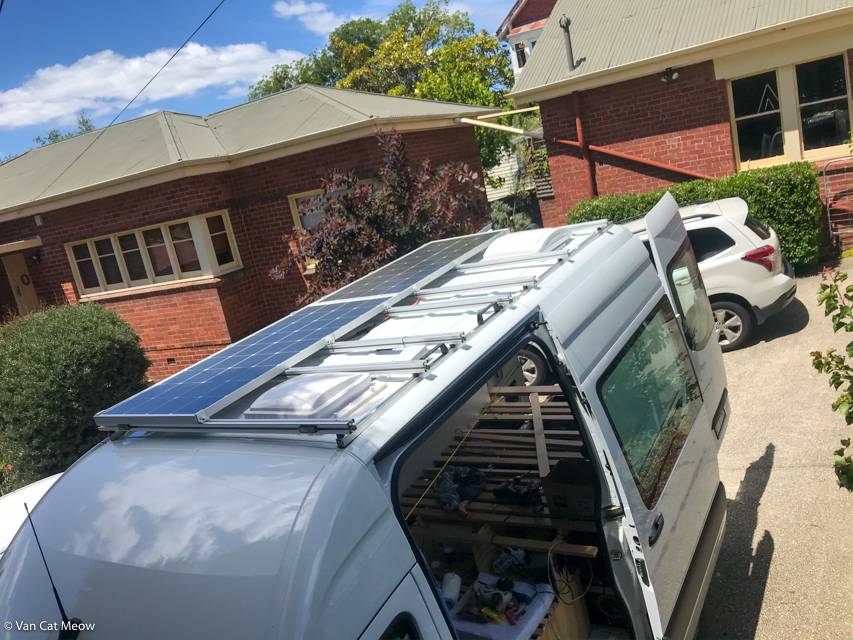
Overall I am very happy with the result. The system is ready for the solar panels and decking. I also had a nice work area to install the Maxxair roof vents without sitting directly on the roof.
Shopping List
| Item | Price (AUD) | Source |
| Aluminium Profile 4 x 1.5m 1-Slot + 11 x 1.44m 4-Slot + End Caps | $328.34 | Alibaba.com |
| 48mm Butyl Tape 15m (3 metres needed) | $19.50 | Bunnings |
| Sealant Sikaflex 921 150ml | $21.09 | Bunnings |
| Loctite Thread Locker | $14.98 | Bunnings |
| Stainless M6 40mm Bolt (16 needed) | $17.78 | AliExpress |
| Stainless M6 Washer 18mm (16 needed) | $3.71 | AliExpress |
| Stainless M6 Spring Washer (26 needed) | $2.58 | AliExpress |
| M6 3030 Slide-in Nut | $5.48 | AliExpress |
| 25mm Nylon Rod 1m (400mm needed) | $34.80 | RS Online |
| Stainless M6 55mm Bolt (20 needed) | $15.12 | AliExpress |
| M6 Roll-in Nut (20 needed) | $15.12 | AliExpress |
| Total: | $478.50 |
- Building a Van Home for a Cat (and Two Humans)
- Finishing Touches And Extra Storage Ideas In A Sprinter Van Conversion

- Flooring, Ceiling, And Everything In Between In A Sprinter Van
- Van Storage With Hanging Space, Locking Drawers, And Suspended Tubs
- Building The Framework For A Bedbase, Kitchen, Cupboards In A Sprinter Van
- Blind Threaded Inserts Hold The Van Together
- Building A Custom Roof Ladder For a Sprinter Van
- Insulation And Ventilation for a Sprinter Van

- Building A 12v Electrical System For A Sprinter Van
- Custom Roof Rack – Sprinter Van Build

Van Cat Meow
As seen on:
Lonely Planet
The Daily Telegraph
Business Insider
People Magazine
Sunrise TV
Buzzfeed
Mashable
